
Hey there! Happy to have you here! Watch this walkthrough video & find useful guides below to get started with Systeme io and DFY website & blog template. - Best, Lee
*** Please note before funnel download, if you are using the FREE version of Systeme.io you are limited to 3 funnels, 1 order bump and 1 upsell/ downsell. Templates will not import if you have exceeded what's mentioned above. You can either deactivate one of your current funnels or you can upgrade to the next plan.
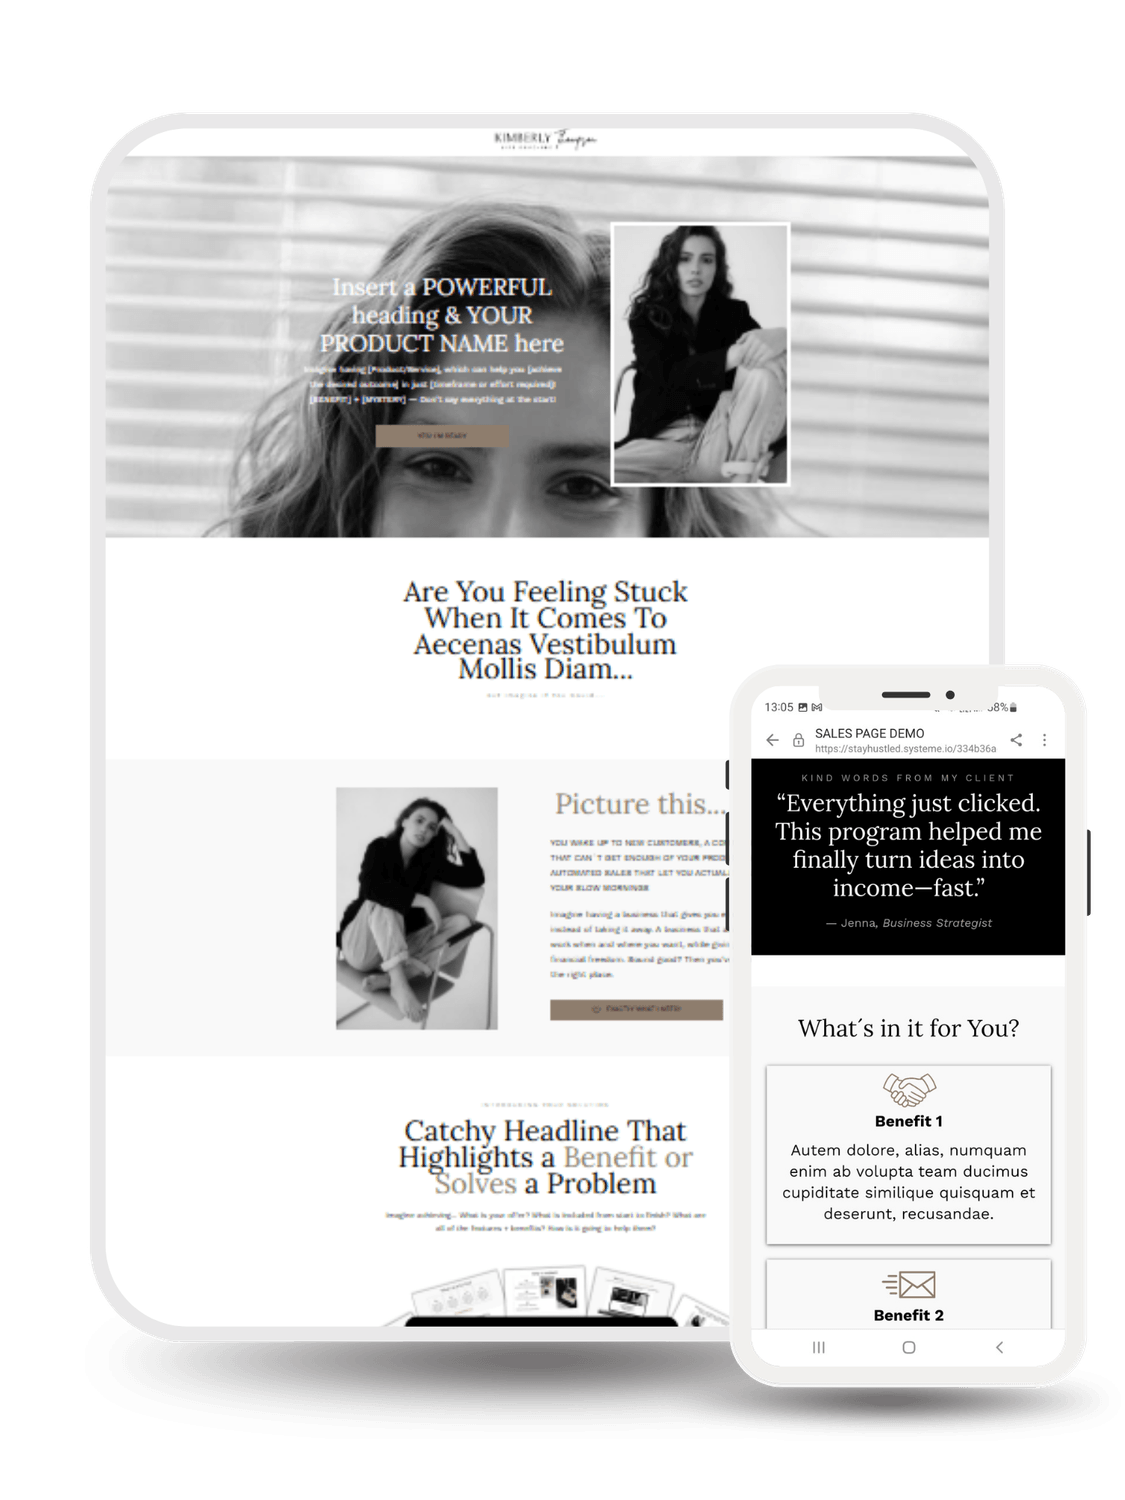
WEBSITE TAKEAWAYS
Always ensure to review & edit the mobile view of your website or sales page and verify how it appears on an actual mobile device for the best user experience
Ensure that all links on your website or blogsite template are properly connected and functional. Additionally, check and adjust the menu settings for the mobile view, especially on the blog layout page, to ensure seamless navigation for your visitors
Website: Blog Layout (your header and footer with main page settings) and Pages (Home, About, Contact...).
Blog: Blog Layout, Post Layout, Posts, Categories + sections on your Home pageNo need to hit publish on your website – it is already live (yes, even if you are still editing it)
Make sure you untick the "Hide from search engines" in Blog Layout & your Pages Settings
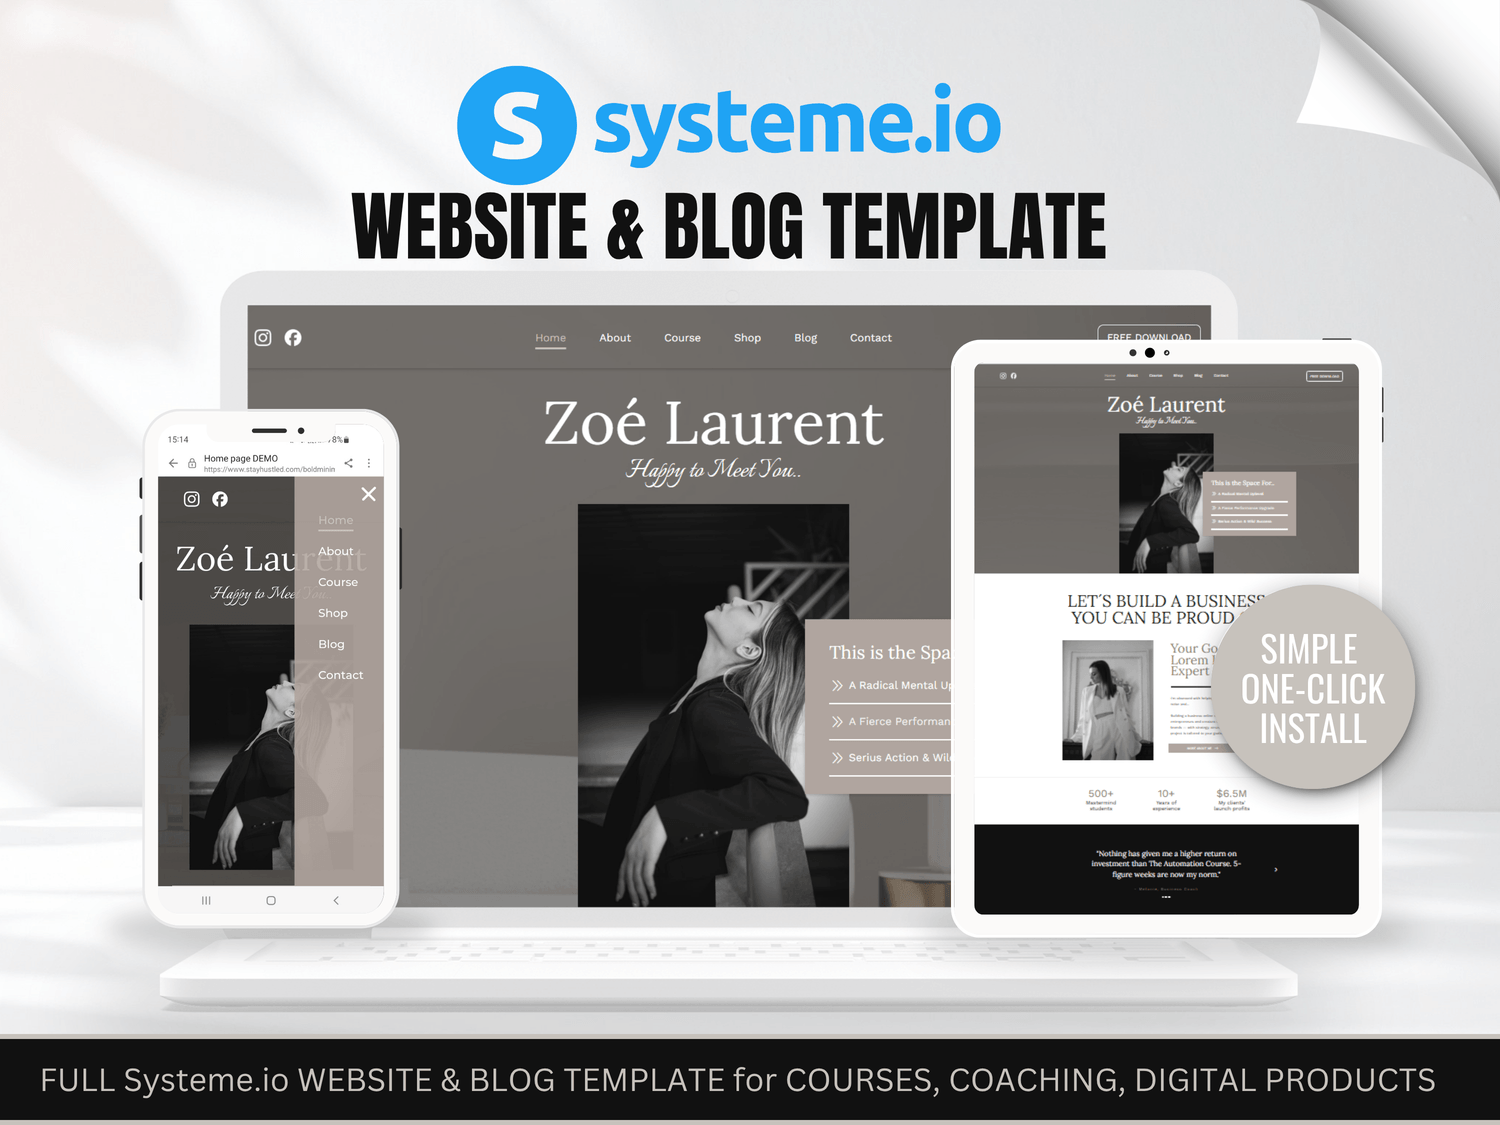
Unsure if you're ready to launch your blog? Simply duplicate your existing ready-made "Home" page that includes the blog sections and save it for future use. Then, remove the blog sections from your current "Home" page. Don't forget to remove the blog menu item from your header. Just be sure to keep the "Posts" and "Post List" pages intact—you can always use them later if needed
Tips to Remember
If you are just starting with Systeme io, don´t forget to verify your email address for email sending. If you have a custom domain, go to the “Custom domains” section under “Settings” to connect it to your Systeme.io account. Learn how to add a custom domain to your Systeme.io account
Connect your preferred payment gateway, such as Stripe or PayPal, to enable secure transactions. Just go to the “Settings” area, then “Payment gateways“, and after choosing which payment gateway you want to connect, press the “Connect” button and follow the instructions.
Connect Automation: Don’t forget to trigger automation rules. Navigate to the “Automations” section: Once you’re on the dashboard, click on the “Automations” tab in the main menu, then click on “Rules.” Create a new automation rule: Click on “+ Create” to create a new automation rule. Define the trigger: Click on the “+” button next to the trigger to choose an appropriate trigger based on your needs, such as “Funnel step form subscribed,” “New sale,” or “Tag added.” Define the action: Click on the “+” button next to “Action” and select the appropriate action you want to perform, such as “Send an email,” “Subscribe to a campaign,” or “Add a tag.” Save the rule: Click on “Save Rule” at the bottom left to save your new automation rule.
Creating Workflows: Navigate to the “Automations” section: Click on the “Automations” tab in the main menu, then click on “Workflows.” Create a new workflow: Click on the “Create” button, add the name of your workflow, and click on “Save.” Add a trigger: Click on “Create your first trigger” and choose a trigger based on your needs, such as “Funnel form subscribed,” “New sale,” or “Tag added.” Add steps: After choosing a trigger, click on “+” to choose the next step, which can be: Action, Decision, Delay a.An action: Perform an action such as “Add a tag,” “Delete a tag,” “Subscribe to a campaign,” etc. b. A decision: Divide the workflow path according to the criteria of the contacts, choosing the filter of your choice. c. A delay: Sets a period of time before moving on to the next workflow step. Configure the steps: Depending on the chosen step type, configure the settings as needed. For example, if you chose “Subscribe to a campaign” as an action, select the campaign you want the contact to be subscribed to. Save and activate the workflow: Once you’ve configured all the necessary steps in your workflow, save it. To activate the workflow, return to the list of workflows and click on the “Activate” button next to your workflow.
And Always test your Automations & Payments
If you have any questions, browse the HELP pages—you’ll find everything you need there!
FIND MATCHING FUNNELS HERE


SPECIAL OFFER FOR YOU!

Auto-respond to every Instagram comment in a DM. Keep your audience (and the algorithm) happy — and watch your revenue grow. Higher conversion than sending people to your "Link in Bio"
Launch with Confidence
© 2025 Stayhustled UumaWay Design. All Rights Reserved